Mortgage Suite
Setting Up Your Lenders So the Mortgage Calculators Actually Work
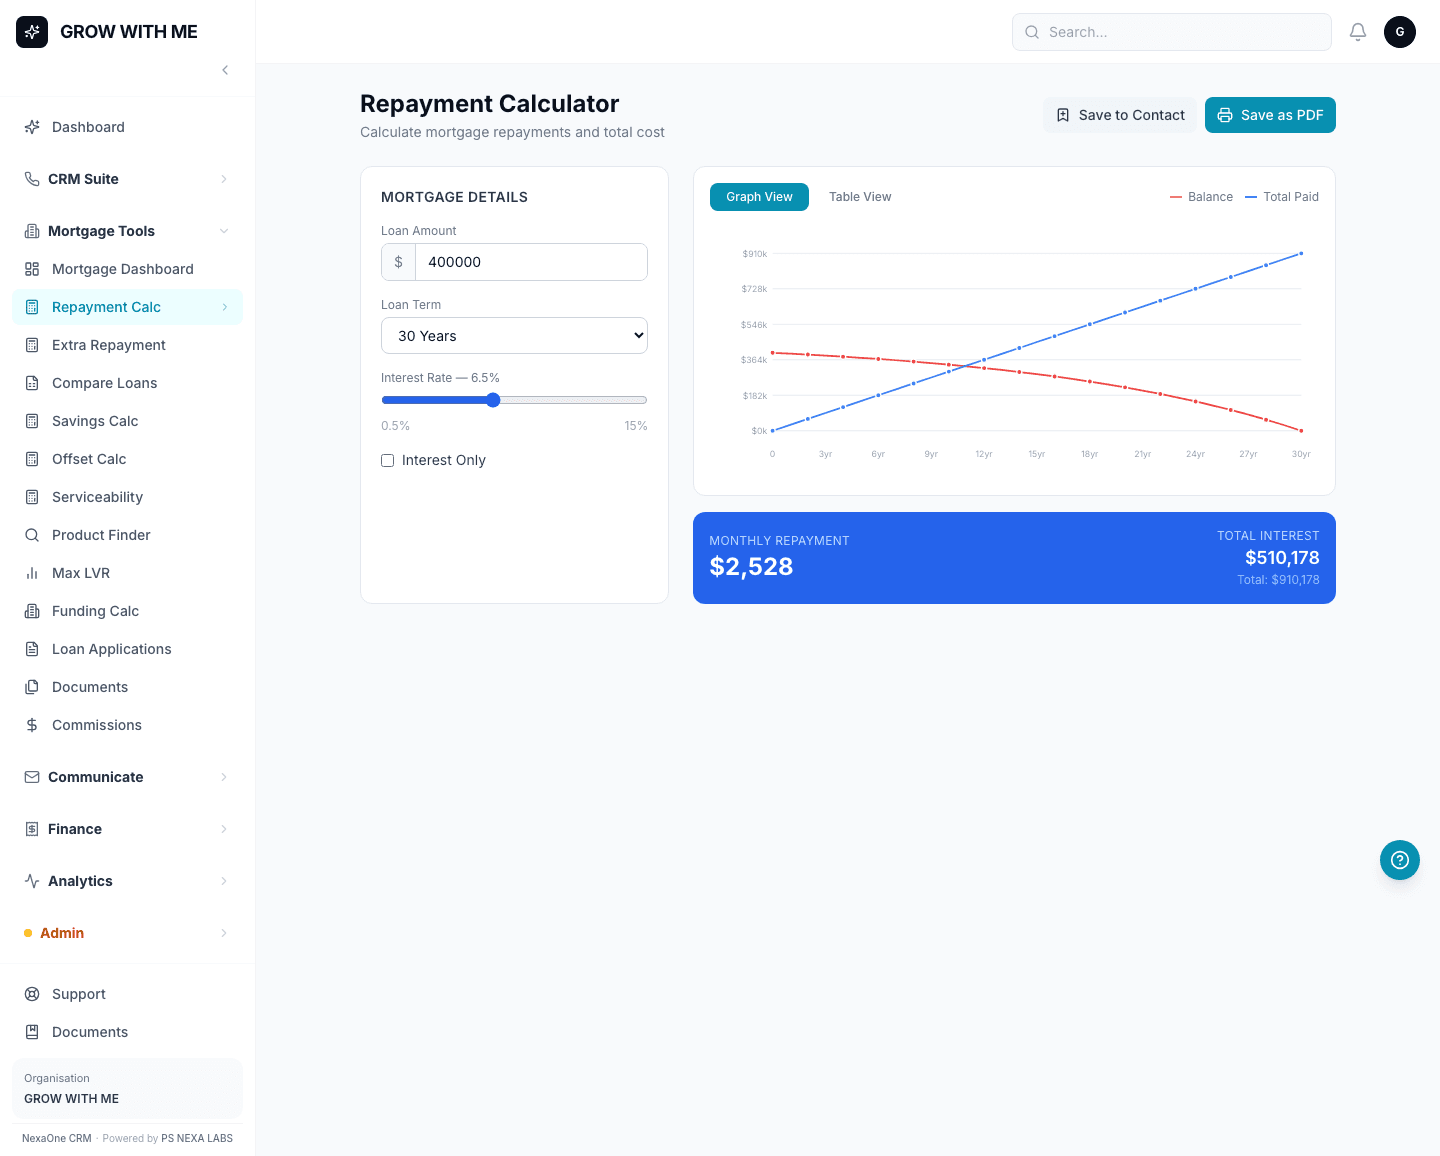
The Mortgage Suite's calculators are only as useful as the lender information behind them. Product Finder needs to know which lenders you work with before it can tell you which loans suit a client; Max LVR needs to know each lender's limits before it can tell you how much they'll lend. Setting that up is a one-time, five-minute job.
Where lenders and rates live
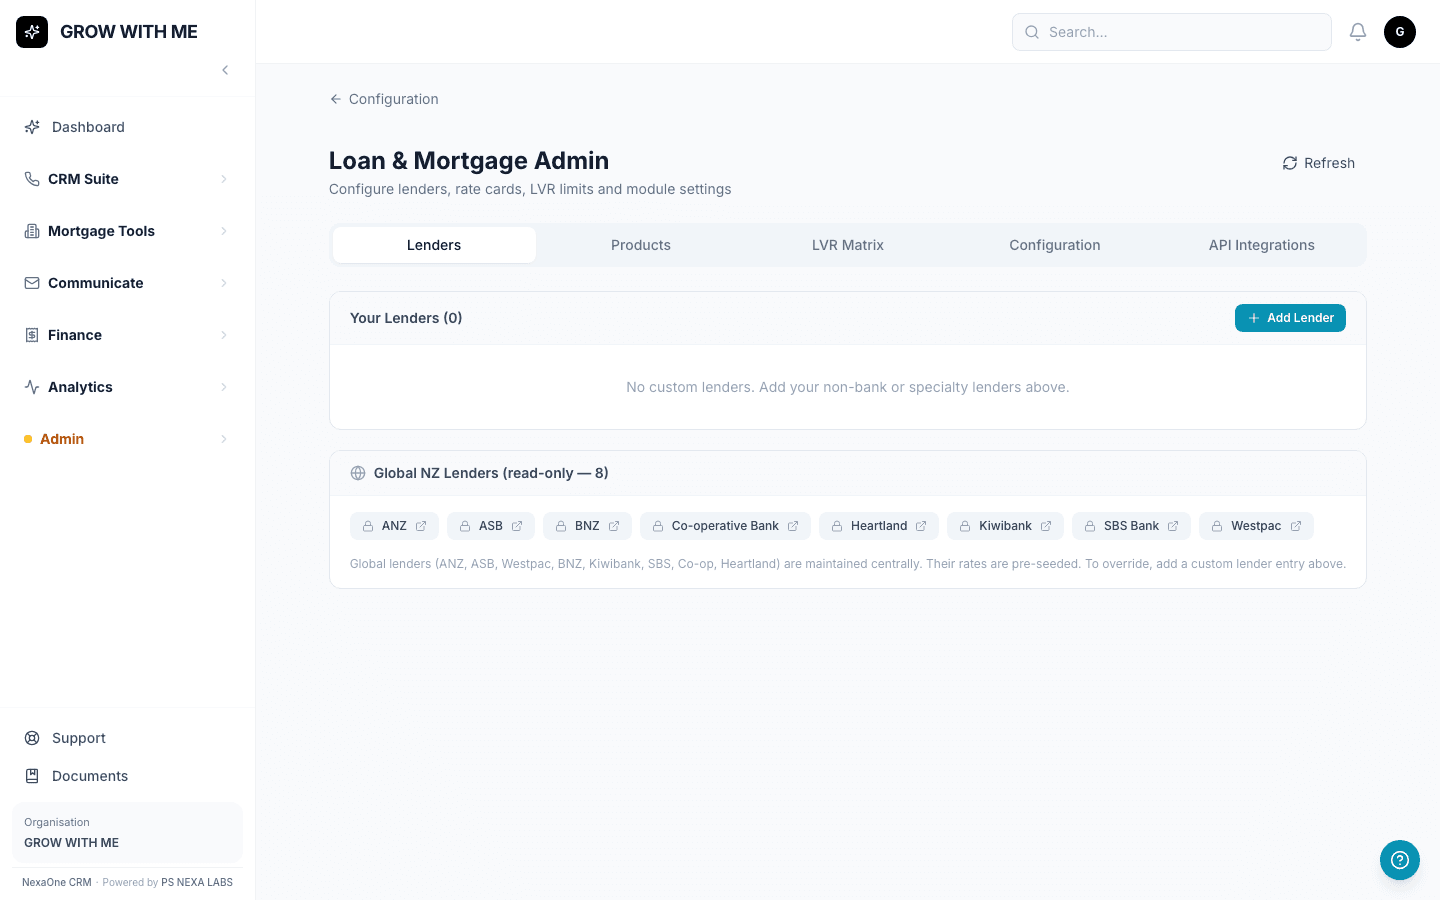
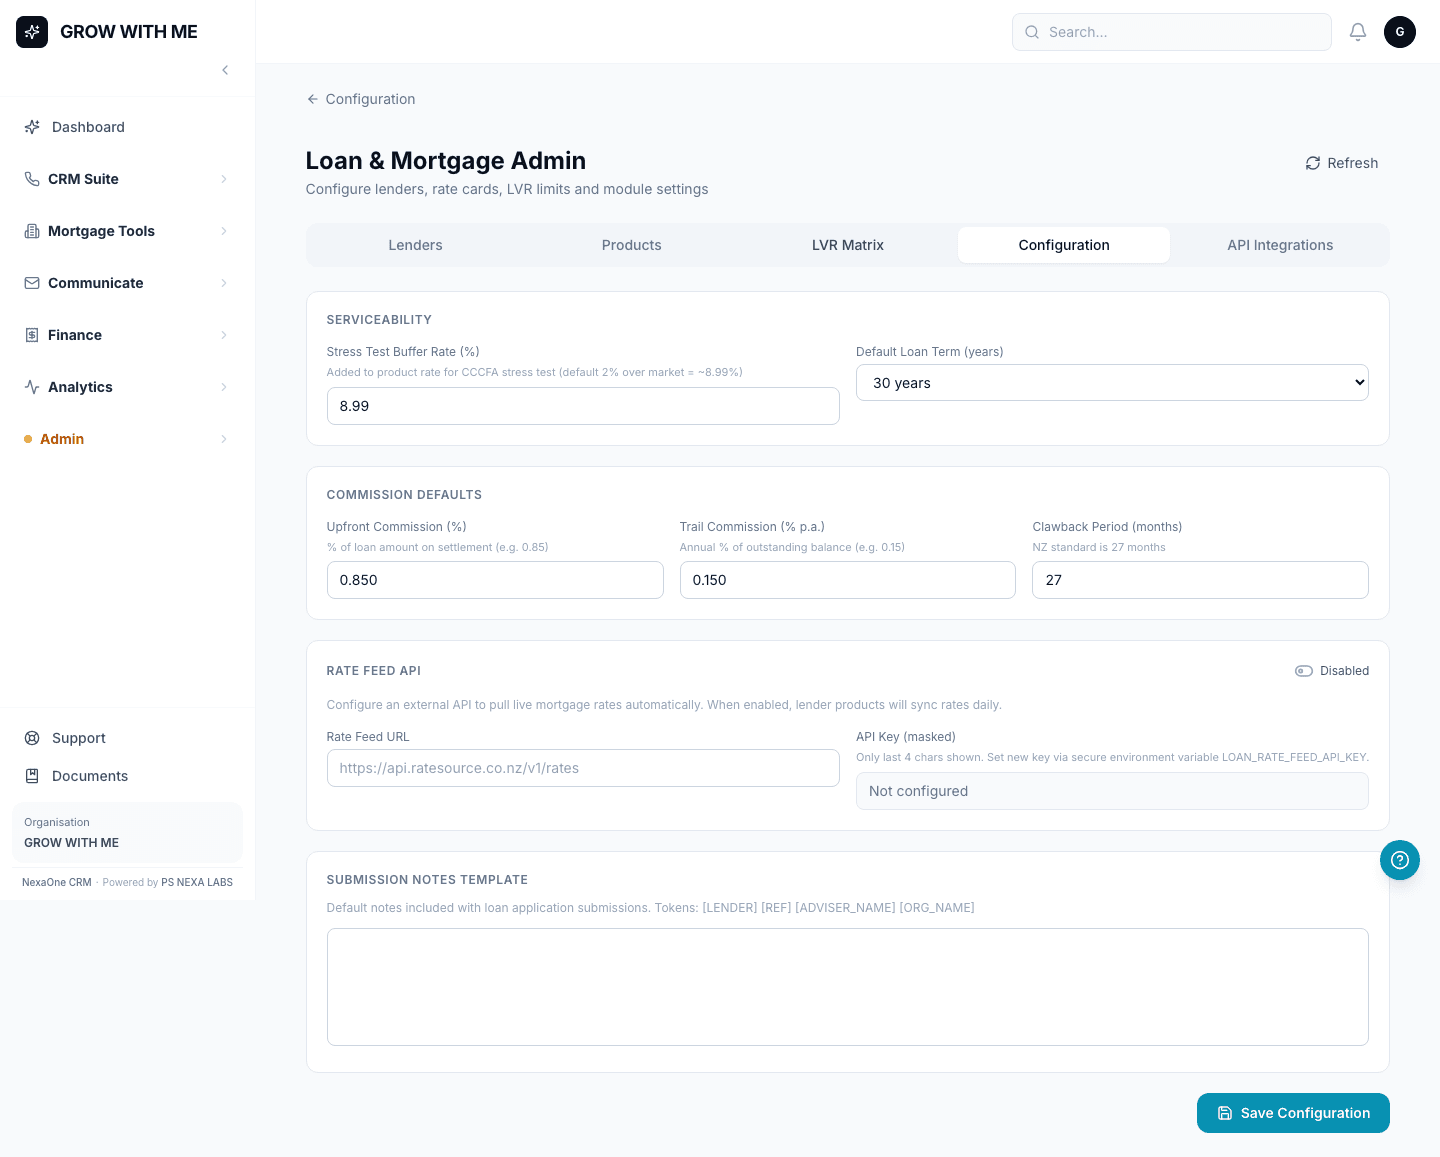
Click Mortgage Tools, then Loan Admin. There are five tabs: Lenders, Products, LVR Matrix, Configuration, and API Integrations — this is the page behind the scenes that the calculators and Loan Applications screen both pull from.
Add a lender, then its products
Add a lender first, then add its loan products or LVR limits underneath it. If Product Finder or Max LVR come back with no results for you, this is the page to check — it almost always means no lenders have been added yet, not a fault with the calculator itself.
Your organisation's defaults
The Configuration tab holds your organisation's default settings — the values the calculators quietly use unless a broker overrides them for a specific client.
A five-minute job that saves confusion later
This is usually something one person sets up for the whole team, once. After that, every broker's calculators just work — nobody needs to think about where the numbers are coming from.